Apache HTTP Server on CentOS: Installation and Secure Startup
Publication date:
Updated:
INFORMATION > Apache HTTP Server on CentOS: Installation and Secure Startup
Bottom line: On a supported RHEL-family host, install the packaged httpd, validate configuration before reload, open only required firewall services, and use correct SELinux contexts and booleans rather than disabling SELinux.
What you'll learn
- How package installation, systemd startup, configuration validation, and network access fit together.
- How custom document roots interact with permissions and SELinux labels.
- Which CentOS 7 commands below are historical and require a supported-platform equivalent.
Who this is for: Linux administrators deploying a basic Apache HTTP Server or migrating an older CentOS runbook.
2026 context: CentOS 7 is end-of-life. Keep the original walkthrough for reference, but use DNF and current RHEL/Apache documentation, retain enforcing SELinux, minimize modules, and test apachectl configtest before a graceful reload.
Overview
This historical walkthrough installs Apache HTTP Server 2.4.6 on CentOS 7.6 and records the configuration used at the time. It is not a current production baseline.
Tested versions:
| CentOS Version | 7.6 (1810) |
|---|---|
| Apache Version | 2.4.6 |
Table of Contents
1. Installation and initial test
The commands in this section are specific to the historical CentOS 7 environment.
1-1. Install Apache HTTP Server
The original environment installed the httpd package with yum.
[username@hostname ~]$ su -
[root@hostname ~]# yum -y install httpd
1-2. Verify HTTP startup
After installation, apachectl can start the server and display its status:
[root@hostname ~]# apachectl start
[root@hostname ~]# apachectl status
* httpd.service - The Apache HTTP Server
Loaded: loaded (/usr/lib/systemd/system/httpd.service; disabled; vendor preset: disabled)
Active: active (running) since Sun 2020-12-06 17:08:12 JST; 1s ago
Docs: man:httpd(8)
man:apachectl(8)
Main PID: 1303 (httpd)
Status: "Processing requests..."
CGroup: /system.slice/httpd.service
|-1303 /usr/sbin/httpd -DFOREGROUND
|-1304 /usr/sbin/httpd -DFOREGROUND
|-1305 /usr/sbin/httpd -DFOREGROUND
|-1306 /usr/sbin/httpd -DFOREGROUND
|-1307 /usr/sbin/httpd -DFOREGROUND
`-1308 /usr/sbin/httpd -DFOREGROUND
Dec 06 17:08:11 localhost.localdomain systemd[1]: Starting The Apache HTTP Server...
Dec 06 17:08:12 localhost.localdomain httpd[1303]: AH00558: httpd: Could not reliably determ...ge
Dec 06 17:08:12 localhost.localdomain systemd[1]: Started The Apache HTTP Server.
Hint: Some lines were ellipsized, use -l to show in full.
Active: active (running) confirms that the service process started; it does not verify the configuration, firewall path, TLS, or application response.
Next, allow HTTP and HTTPS through the CentOS 7 firewall, whose default configuration permits only SSH, and then test Apache from a browser. Also add a "permanent" option to make the settings permanent.
[root@hostname ~]# firewall-cmd --permanent --add-service=http
[root@hostname ~]# firewall-cmd --permanent --add-service=https
[root@hostname ~]# firewall-cmd --reload
[root@hostname ~]# firewall-cmd --list-all
public (active)
target: default
icmp-block-inversion: no
interfaces: eth0
sources:
services: dhcpv6-client http https ssh
ports:
protocols:
masquerade: no
forward-ports:
source-ports:
icmp-blocks:
rich rules:
Confirm that http and https appear in the services list, then request the server from an authorized test client. The original lab used http://192.168.50.10.
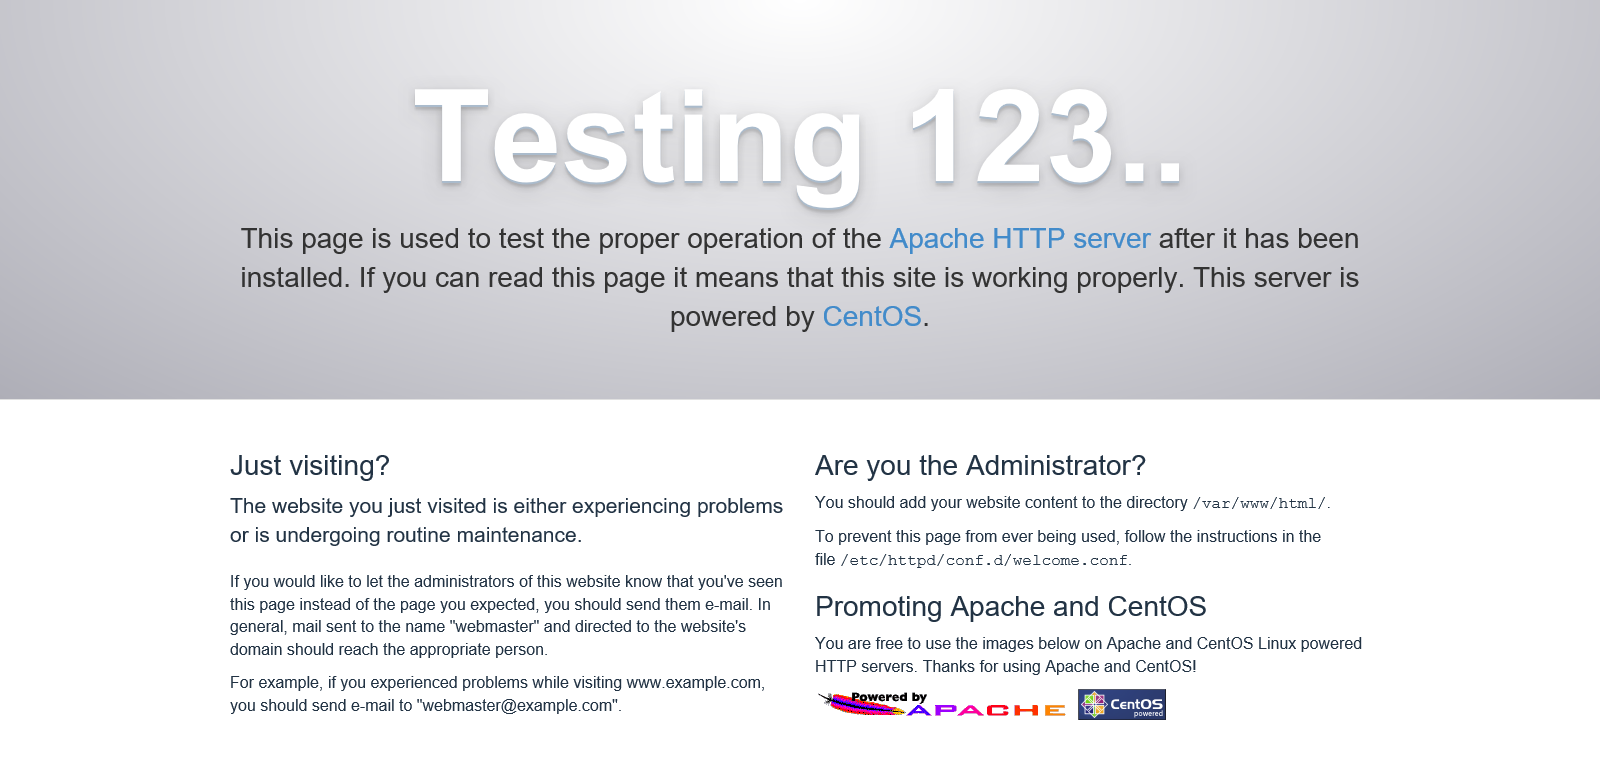
Once the system is successfully started, stop it.
[root@hostname ~]# apachectl stop
2. Legacy Apache configuration walkthrough
2-1. Create log file output folder
The packaged CentOS configuration normally creates and labels /var/log/httpd. The historical steps below created it manually when absent.
Mode 755 does not by itself grant Apache write access unless ownership, parent permissions, and SELinux labels are also correct. Use package defaults or an approved logging policy, and prevent untrusted users from modifying logs.
[root@hostname ~]# mkdir /var/log/httpd
[root@hostname ~]# chmod 755 /var/log/httpd
This step only prepares the directory; the later configuration selects the log paths.
2-2. Domain Settings
Set ServerName to the host name and port appropriate for the deployment. Apache also loads configuration fragments from included directories, so httpd.conf is not necessarily the only source of effective settings.
[root@hostname ~]# vi /etc/httpd/conf/httpd.conf
The historical example uncommented ServerName and replaced the placeholder with the deployment's DNS name.
#ServerName www.example.com:80
ServerName domainname:80
2-3. Activate SSL modules and configuration files
Use HTTPS for public traffic so authentication data and content are protected in transit. The historical CentOS command installed the packaged TLS module and configuration:
[root@hostname ~]# yum -y install mod_ssl
In this package version, installation enabled the module and created /etc/httpd/conf.d/ssl.conf. Current package behavior and TLS defaults must be verified for the supported distribution.
2-4. Change log output path
Change the destination of the Apache log output to the log file output folder you just created; only the ssl configuration file will be changed, as it will be configured in a subsequent step to be accessed only via ssl (https).
[root@hostname ~]# vi /etc/httpd/conf.d/ssl.conf
ErrorLog logs/ssl_error_log
TransferLog logs/ssl_access_log
~omission~
CustomLog logs/ssl_request_log \
"%t %h %{SSL_PROTOCOL}x %{SSL_CIPHER}x \"%r\" %b"
ErrorLog /var/log/httpd/ssl_error_log
TransferLog /var/log/httpd/ssl_access_log
~omission~
CustomLog /var/log/httpd/ssl_request_log \
"%t %h %{SSL_PROTOCOL}x %{SSL_CIPHER}x \"%r\" %b"
The above modification changes the log output destination to the "/var/log/httpd" directory.
Tokens such as %t and %h define the log format. Common tokens include:
• %T: Time taken to process request (seconds)
• %h: Client hostname or IP address, attempting to resolve hostname only if HostnameLookups is set to On
• %r: First line of the request
• %b: The number of bytes in the response (excluding HTTP headers), in CLF format, i.e. - if none of the bytes were sent
• %D: Time taken to process request (microseconds)
• %>s: HTTP Status
2-5. SSL Certificate Creation
This section records the original certificate commands. For a public service, use an automatically renewable certificate issued by a trusted certificate authority. A self-signed certificate can encrypt traffic, but clients cannot authenticate it without a separately managed trust anchor; accepting an unverified warning enables impersonation and man-in-the-middle attacks.
The default certificate settings for Apache are "/etc/pki/tls/certs/localhost.crt" and "/etc/pki/tls/private/localhost.key".
SSLCertificateFile" and "SSLCertificateKeyFile" in "/etc/httpd/conf.d/ssl.conf" will show the settings.
Historical self-signed example
The following commands created a key, certificate signing request, and self-signed certificate. They do not include current key-protection, subject-alternative-name, renewal, or deployment practices and should not be copied as a current recipe.
[root@hostname ~]# openssl genrsa > /etc/pki/tls/private/localhost.key
[root@hostname ~]# openssl req -new -key /etc/pki/tls/private/localhost.key > /etc/pki/tls/certs/localhost.csr
[root@hostname ~]# openssl x509 -req -signkey /etc/pki/tls/private/localhost.key < /etc/pki/tls/certs/localhost.csr > /etc/pki/tls/certs/localhost.crt
Historical certificate-request example
The following commands created a private key and certificate signing request for submission to a certificate authority.
[root@hostname ~]# openssl genrsa -out /etc/pki/tls/private/localhost.key 2048
[root@hostname ~]# openssl req -new -key /etc/pki/tls/private/localhost.key -out /etc/pki/tls/certs/localhost.csr
A certificate signing request is not a server certificate. The certificate authority validates the request and issues a certificate, which must then be installed with any required chain certificates and renewal process.
2-6. Redirect HTTP to HTTPS
A public HTTP endpoint can return a redirect to the corresponding HTTPS URL. Confirm proxy headers and redirect behavior in a test environment before enabling a permanent redirect.
[root@hostname ~]# vi /etc/httpd/conf/httpd.conf
The historical example appended this rule:
<IfModule rewrite_module>
RewriteEngine on
RewriteCond %{HTTPS} off
RewriteRule ^(.*)$ https://%{HTTP_HOST}%{REQUEST_URI} [R=301,L]
</IfModule>
RewriteCond %{HTTPS} off limits the rule to requests Apache considers non-TLS. Omitting the condition can create a redirect loop. Behind a reverse proxy, the condition may not reflect the original client scheme, so use the proxy architecture's documented configuration.
2-7. Startup confirmation (https access)
Now that the various settings are complete, check to see if the site can be accessed via https. First, start the system.
[root@hostname ~]# apachectl start
Access the site from a browser, the same as for http access, but in my case, the IP address of the server is 192.168.50.10, so I access "http://192.168.50.10".
The URL is changed from "http://192.168.50.10" to "https://192.168.50.10" because the http redirect setting is included.
Now that it has been successfully started, Apache is stopped.
[root@hostname ~]# apachectl stop
2-8. Automatic startup setting
The CentOS package already provides httpd.service, which should normally be enabled with systemctl enable --now httpd. The custom apache.service unit below is retained only as part of the original article and should not replace the vendor unit.
The historical walkthrough created this custom unit:
[root@hostname ~]# touch /etc/systemd/system/apache.service
[root@hostname ~]# vi /etc/systemd/system/apache.service
Use the following settings:
[Unit]
#Description.
Description=Apache
#Control before and after execution
#Before=xxx.service
#After=xxx.service
[Service]
#User and group designation
User=root
Group=root
#Once activated, set the status to Activated.
Type=oneshot
RemainAfterExit=yes
#Start, stop, reload
ExecStart=/usr/sbin/apachectl start
ExecStop=/usr/sbin/apachectl stop
ExecReload=/usr/sbin/apachectl restart
[Install]
#runlevel3 equivalent setting
WantedBy=multi-user.target
The original procedure then enabled the custom unit. Use the packaged httpd unit for a supported installation.
[root@hostname ~]# systemctl enable apache
[root@hostname ~]# systemctl is-enabled apache
enabled
[root@hostname ~]# systemctl list-unit-files --type=service | grep apache
apache.service enabled
[root@hostname ~]# systemctl daemon-reload
3. Conclusion
The historical steps cover installation, firewall access, host naming, logging, TLS, redirects, and service startup. A current deployment should begin with the supported distribution's packaged unit and security guidance, keep SELinux enforcing, validate configuration before reload, and automate certificate renewal.
Official references
■INFORMATION
■PROFILE
■CONTACT